Step 2: Cover with Cold Water
Fill the pot with cold water, covering the eggs by about 1 inch (2.5 cm).
Starting with cold water prevents cracking and allows the eggs to heat gradually.
Step 3: Bring to a Boil
Place the pot on medium-high heat and bring the water just to a boil.
The moment the water reaches a rolling boil, remove it from the heat immediately.
Step 4: Cover and Let Sit
Once boiling, turn off the heat, cover the pot with a lid, and let the eggs sit in the hot water for:
- 9–10 minutes for large eggs
- 10–12 minutes for extra-large eggs
Adjust based on your size and how cooked you like your yolks.
Step 5: Transfer to an Ice Bath
When the time is up, use a spoon or tongs to move the eggs to an ice water bath (a bowl of cold water with ice cubes).
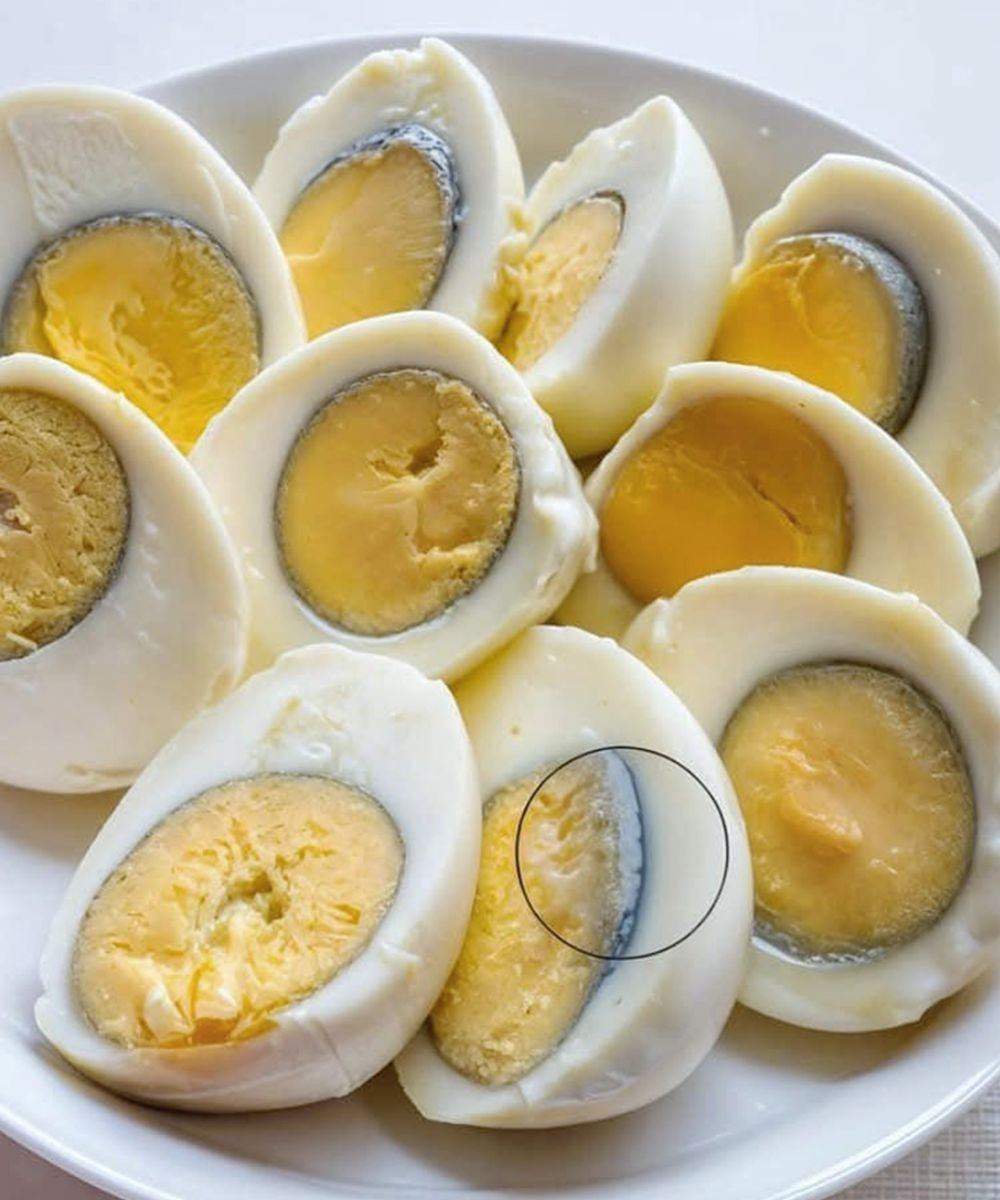
This stops the cooking process and helps prevent the green ring.
Let them chill for 5–10 minutes.
Step 6: Peel and Enjoy
Tap the egg gently to crack the shell, roll it lightly, and peel under running water if needed.
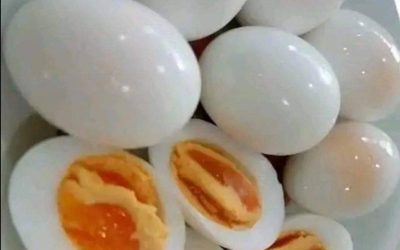
Your yolks should now be bright yellow with no green ring!
 Bonus Tips to Prevent the Green Ring:
- Don’t overcook: Stick to the time guide above.
- Always cool the eggs quickly.
- Use older eggs for easier peeling (fresh eggs are harder to peel when boiled).
 Final Thoughts
A green ring around your hard-boiled egg isn’t dangerous—but it is avoidable. By cooking gently and cooling quickly, you’ll preserve the egg’s natural color, texture, and flavor.
Next time you’re meal-prepping, making egg salad, or just enjoying a snack, you’ll know exactly how to get beautiful, golden-centered eggs—without the science-fiction ring.
Continue reading by clicking the ( NEXT 》 ) button below !